Change the properties of a course
Explanation of the options on the tab Title:
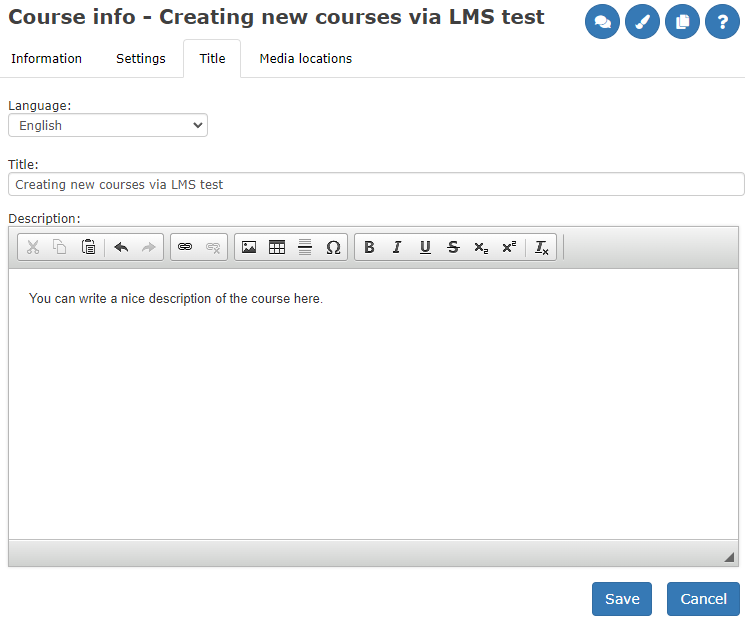
Under the tab Title, enter the name of the course in the field English. If the course is to be used in several languages, enter a title in the other fields. It is the mother tongue of the course that determines which title should be displayed to the user.
Explanation of the choices in the sheet tab Information:
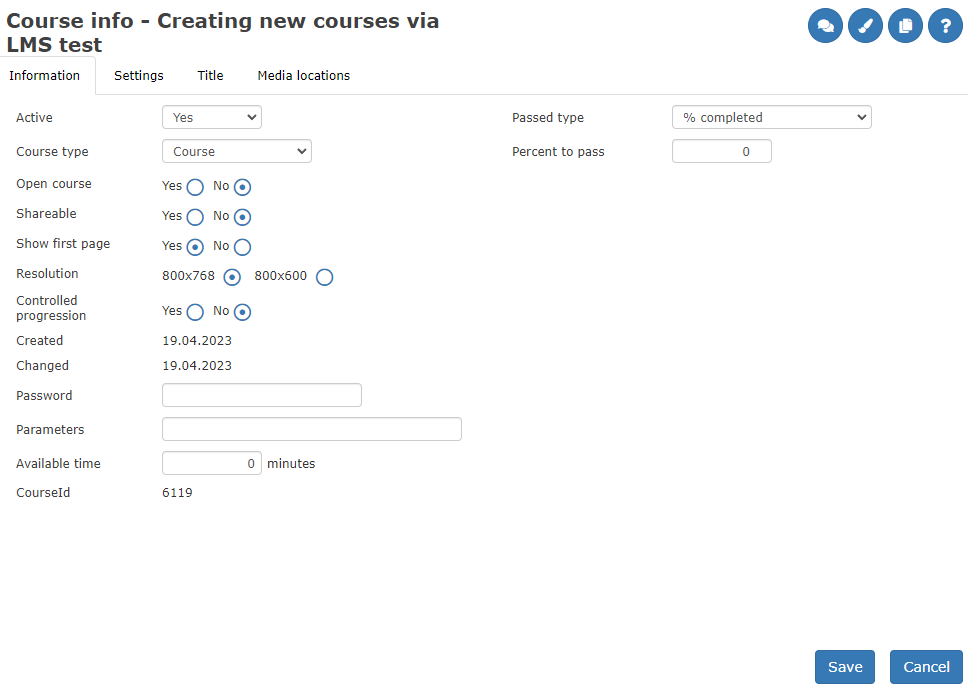
| Active | Shows whether the course is active or inactive. Select Yes to activate the course or No to deactivate it. |
| Subject | The course type is set as default. |
| Open course | No is set by default. If set to Yes, the course becomes login-free and open to everyone without a username or password. |
| Shareable | If enabled, the course can be used by other schools or companies within the same customer group. |
| Show first page | The course opens on the first page, typically the main menu. |
| Resolution | Controls the pixel size of course pages in the user interface. 800×768 is set by default. More resolutions may be added later. |
| Controlled progression | No is set by default. When enabled, users must complete a page before progressing to the next chapter or page. |
| Password | Protects the course from changes. Course developers must enter this password to edit protected course content. |
| Parameters | Used for special or advanced cases. |
| Available time | Limits how many minutes the course can be used at the school, summarized across all users. |
| Course ID | For technical use. Displays the course number in the system. |
| Passed type | Defines how course completion is evaluated (e.g., no requirements, % completed sections, % total points, % random test points, or combinations). Required to use the Pass column in reports like Performance per class. |
| Pass percentage | Sets the required passing percentage (e.g., 80% of pages completed). Also used when integrating with other systems such as HR platforms. |
Explanation of the options under the Settings tab:
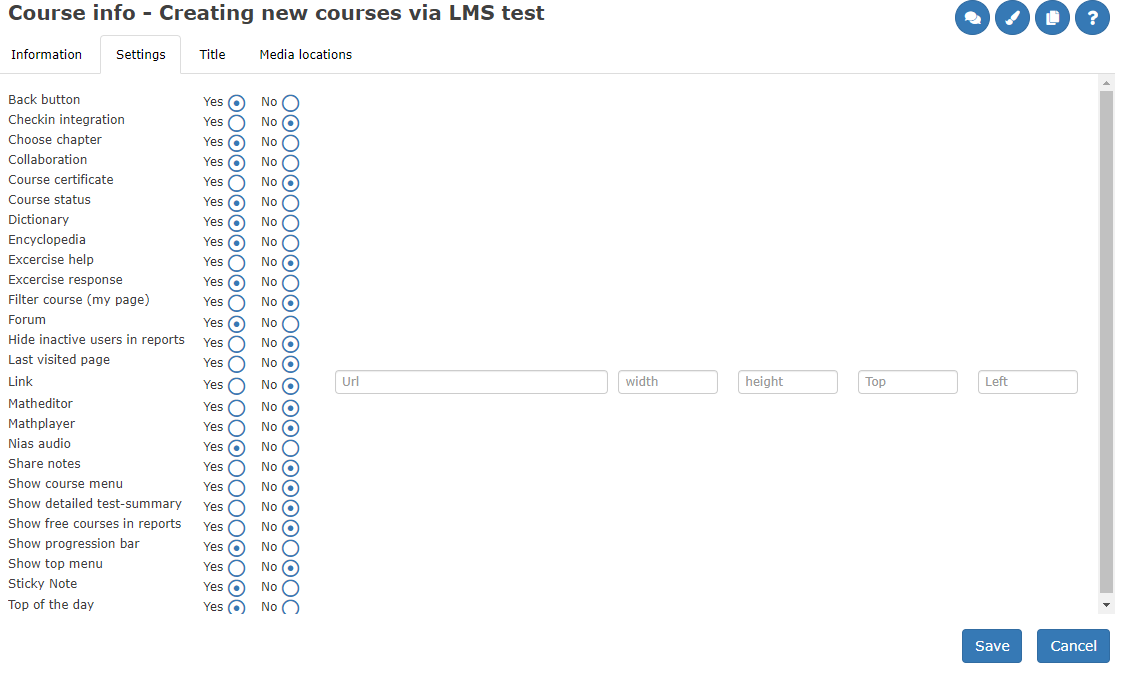
Here you can decide what additional features the course should have (if these are available for your school.)
Here are some of the most important:
| Assignment response | Allows the course author to post responses to assignments. |
| Back button | Allows the user to step back in the course without using the menu. Can be turned on or off. |
| Choose chapter | Provides access to the content menu. |
| Collaboration | Gives users access to a chat room for the course. |
| Course status | Provides users with information about their progression and status in the course. |
| Dictionary | Allows the use of custom glossaries in the course. Created in the authoring tool. |
| Encyclopedia | Enables collecting and presenting internet resource links in a separate lexicon. Created in the authoring tool. |
| Hide inactive users in reports | Inactive users will not be visible in reports. |
| Hide My Files | Removes the My Files feature from My Page. |
| Hide My Texts | Removes the text editing feature. |
| Interaction | Gives users access to an online interaction room, webcam, and chat. |
| Link | Used to link to a specific web page, such as a company website. |
| Last visited page / Bookmark feature | Returns the user to the last page where activity was registered. |
| Math Player | Design Science MathPlayer. Requires Java. Rarely used feature. |
| Math Editor | Allows users to create Java-based mathematical expressions. |
| Note | Allows users to write notes in a “yellow” note pane on each course page. Reports can be generated from these notes. |
| Share notes | Allows users to read and comment on each other’s notes on course pages. |
| Show course menu | Automatically opens the content menu when the course starts. Otherwise, it remains hidden until clicked. |
| Show detailed test summary | Applies to random tests. Shows detailed task information in reports. |
| Show free courses in reports | Displays courses directly linked to users in class reports, not only class-assigned courses. |
| Show progression bar | Shows course completion progress as pages completed and percentage of correct answers. |
| Show top menu | Places the course menu at the top of the course window. |
| Task help | Displays or hides the Help feature in the upper-right corner of a paragraph. |
| Today's tips | Allows administrators to send today’s tips to course participants. |
Explanation of the selections under the sheet tab Media Location:
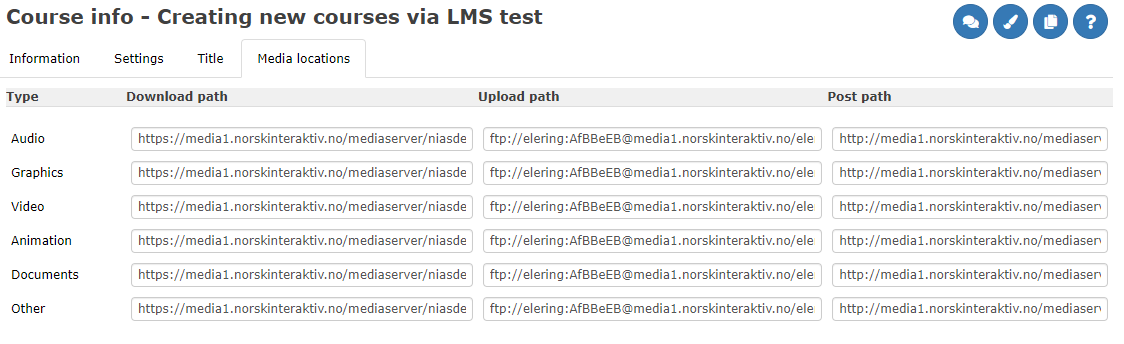
For technical use. Here specify the upload and download path to the directory on the server where media items such as audio and images are placed. These fields will normally be pre-filled for schools. If other technical solutions are desired, this is possible.