Creating Groups
This guide walks you through creating a new group and adding courses to it.
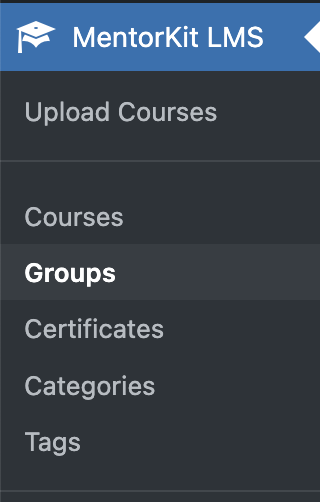
Navigate to Groups
From your WordPress dashboard, go to Mentorkit → Groups.
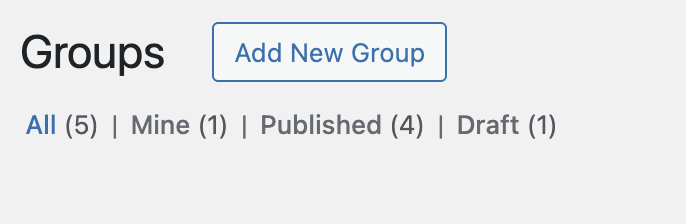
Add a New Group
Click the Add New button at the top of the Groups page.
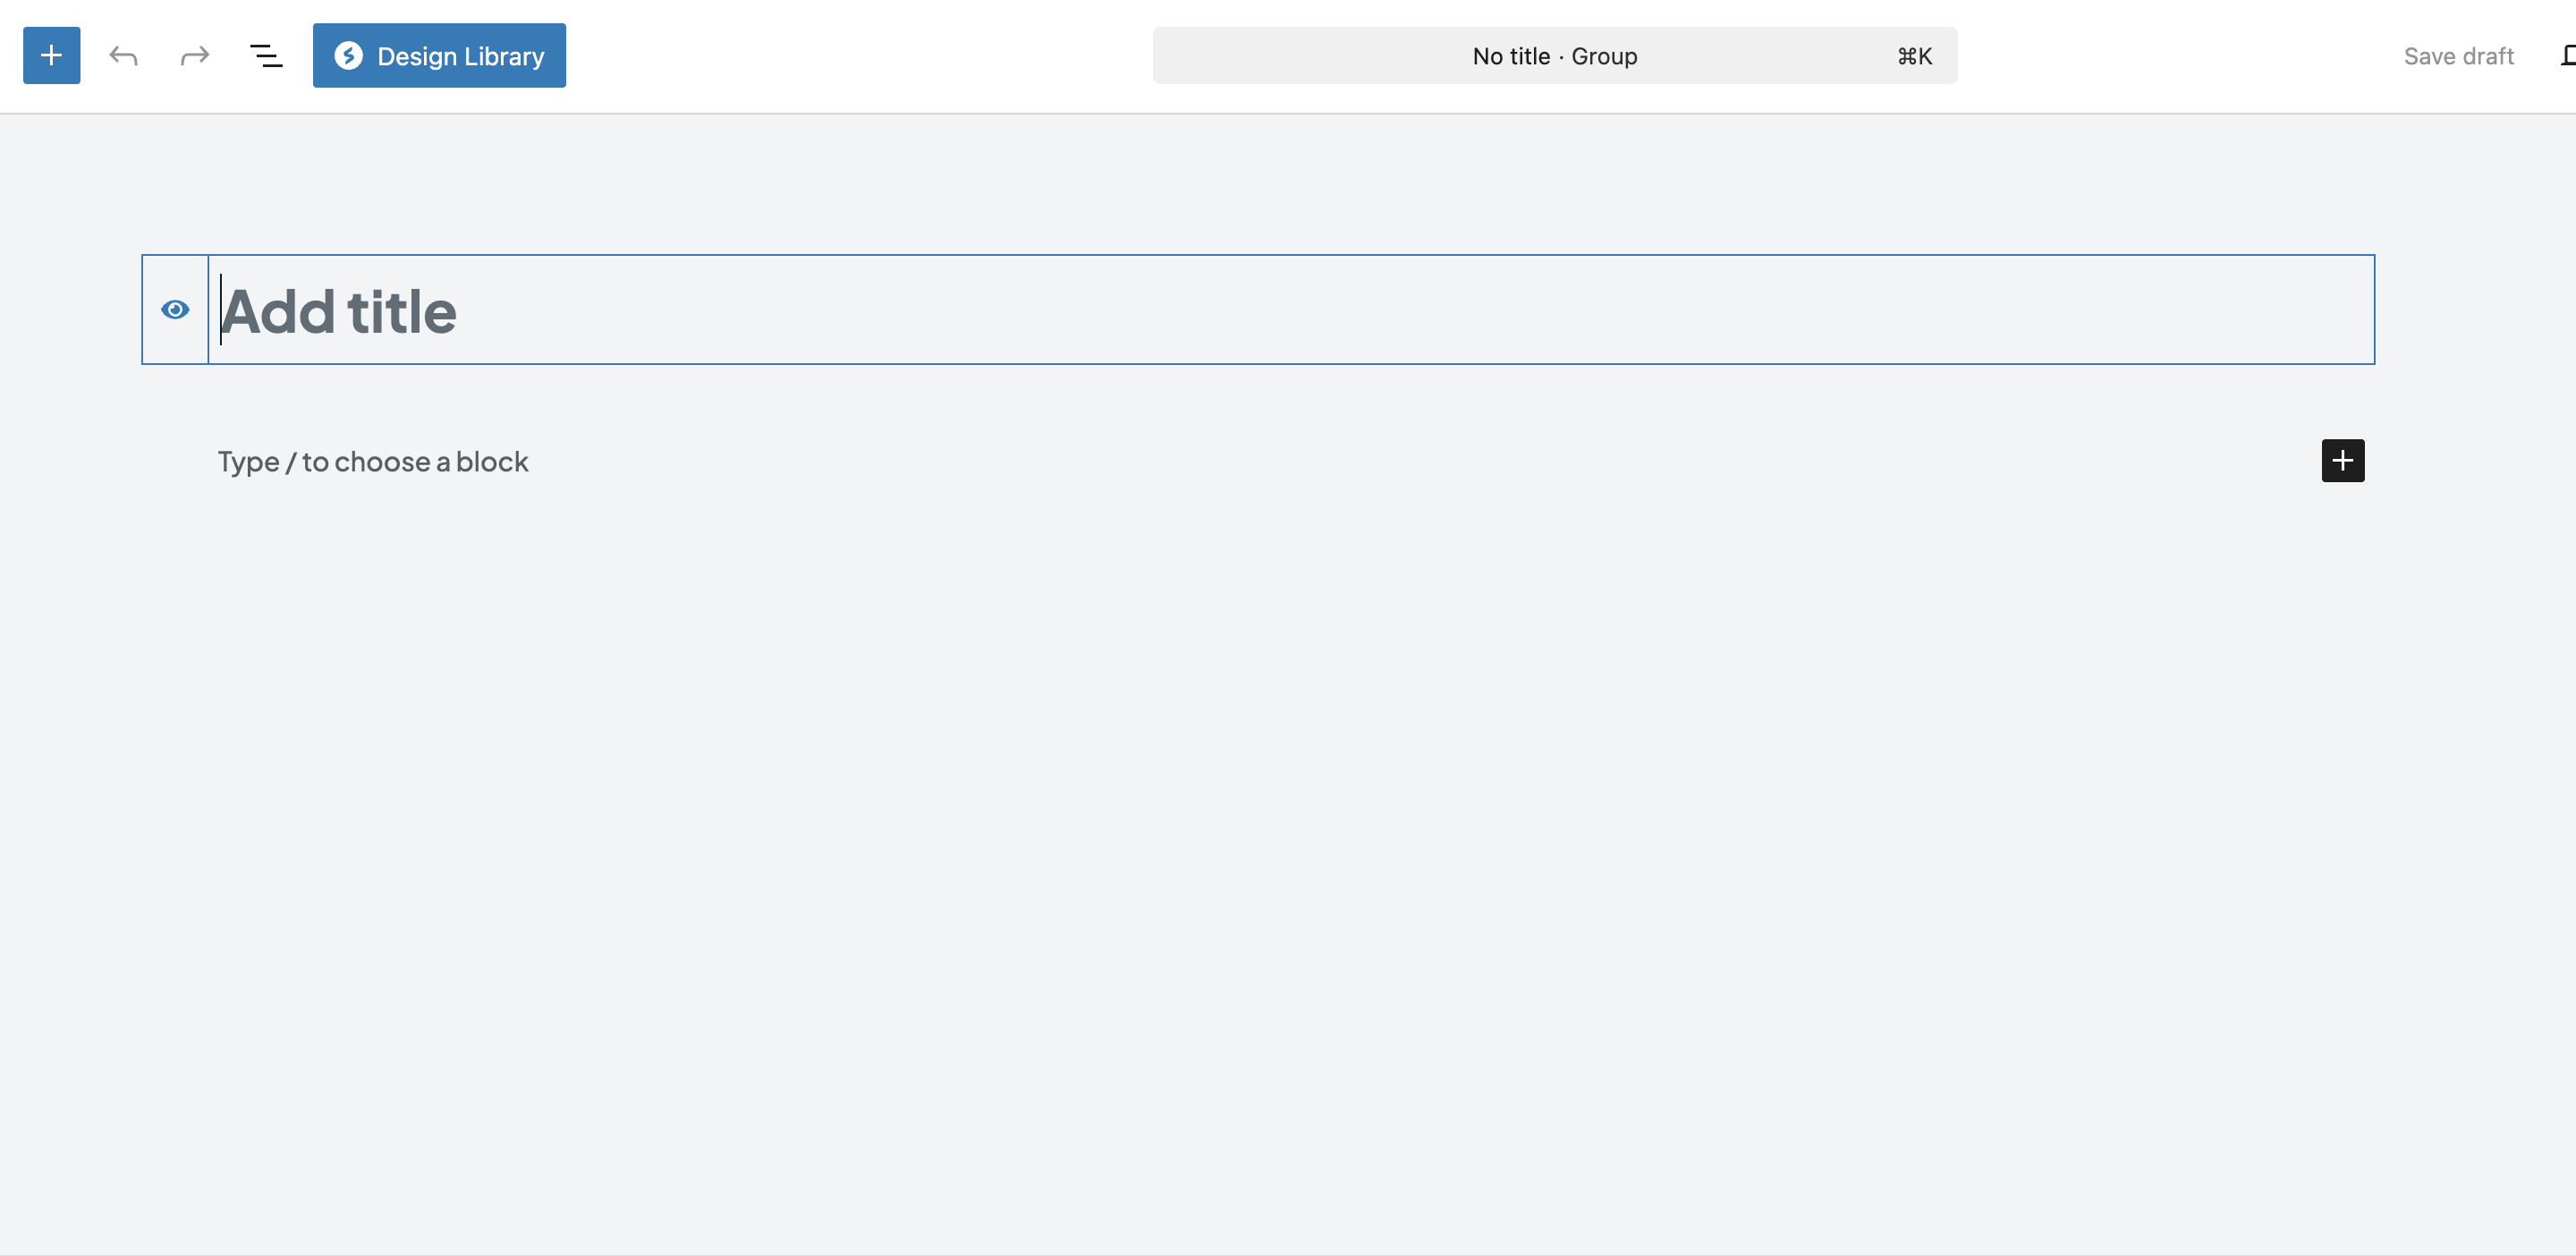
Set Group Details
Title and Description
Enter a title for your group. This is what users will see when browsing groups.
Add a description in the main editor area. Describe what courses are included and what learners will achieve by completing the group.
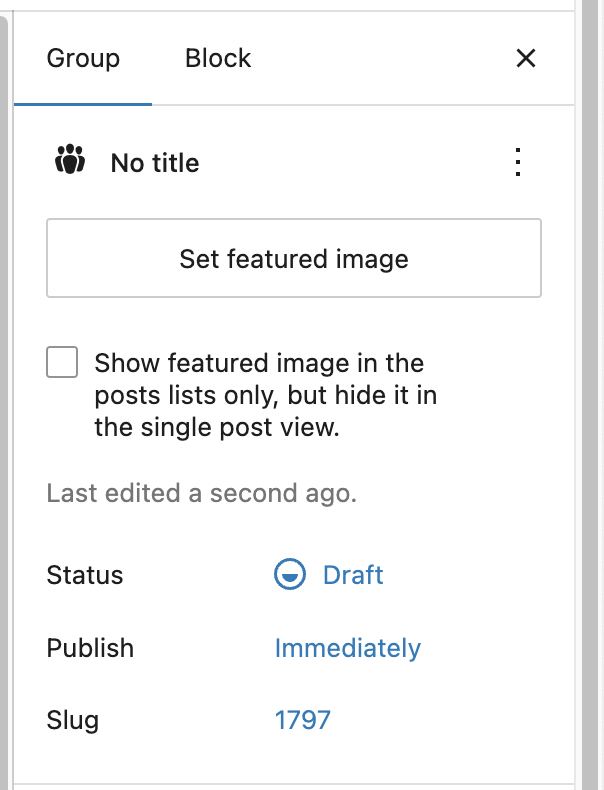
Featured Image
Set a featured image for your group. This appears on the groups archive page and the single group page.
Click Set featured image in the right sidebar and upload or select an image from your media library.
Select Courses
In the Group Settings meta box, you'll find the Courses field. This is a searchable multi-select dropdown.
- Click the dropdown to see available courses
- Type to search for specific courses
- Click a course to add it to the group
- Repeat for all courses you want to include

Selected courses appear as tags below the dropdown. Click the × on any course tag to remove it from the group.

Publish the Group
When you're ready, click Publish to make the group available.
The group will appear on the groups archive page and users can access its single page at the URL shown in the Permalink section.

What's Next
After creating a group, you'll want to configure additional settings:
- Group Settings - Set access type, seats, and date windows
- Paid Groups - Link a WooCommerce product for paid access
- Group Certificates - Award certificates upon completion